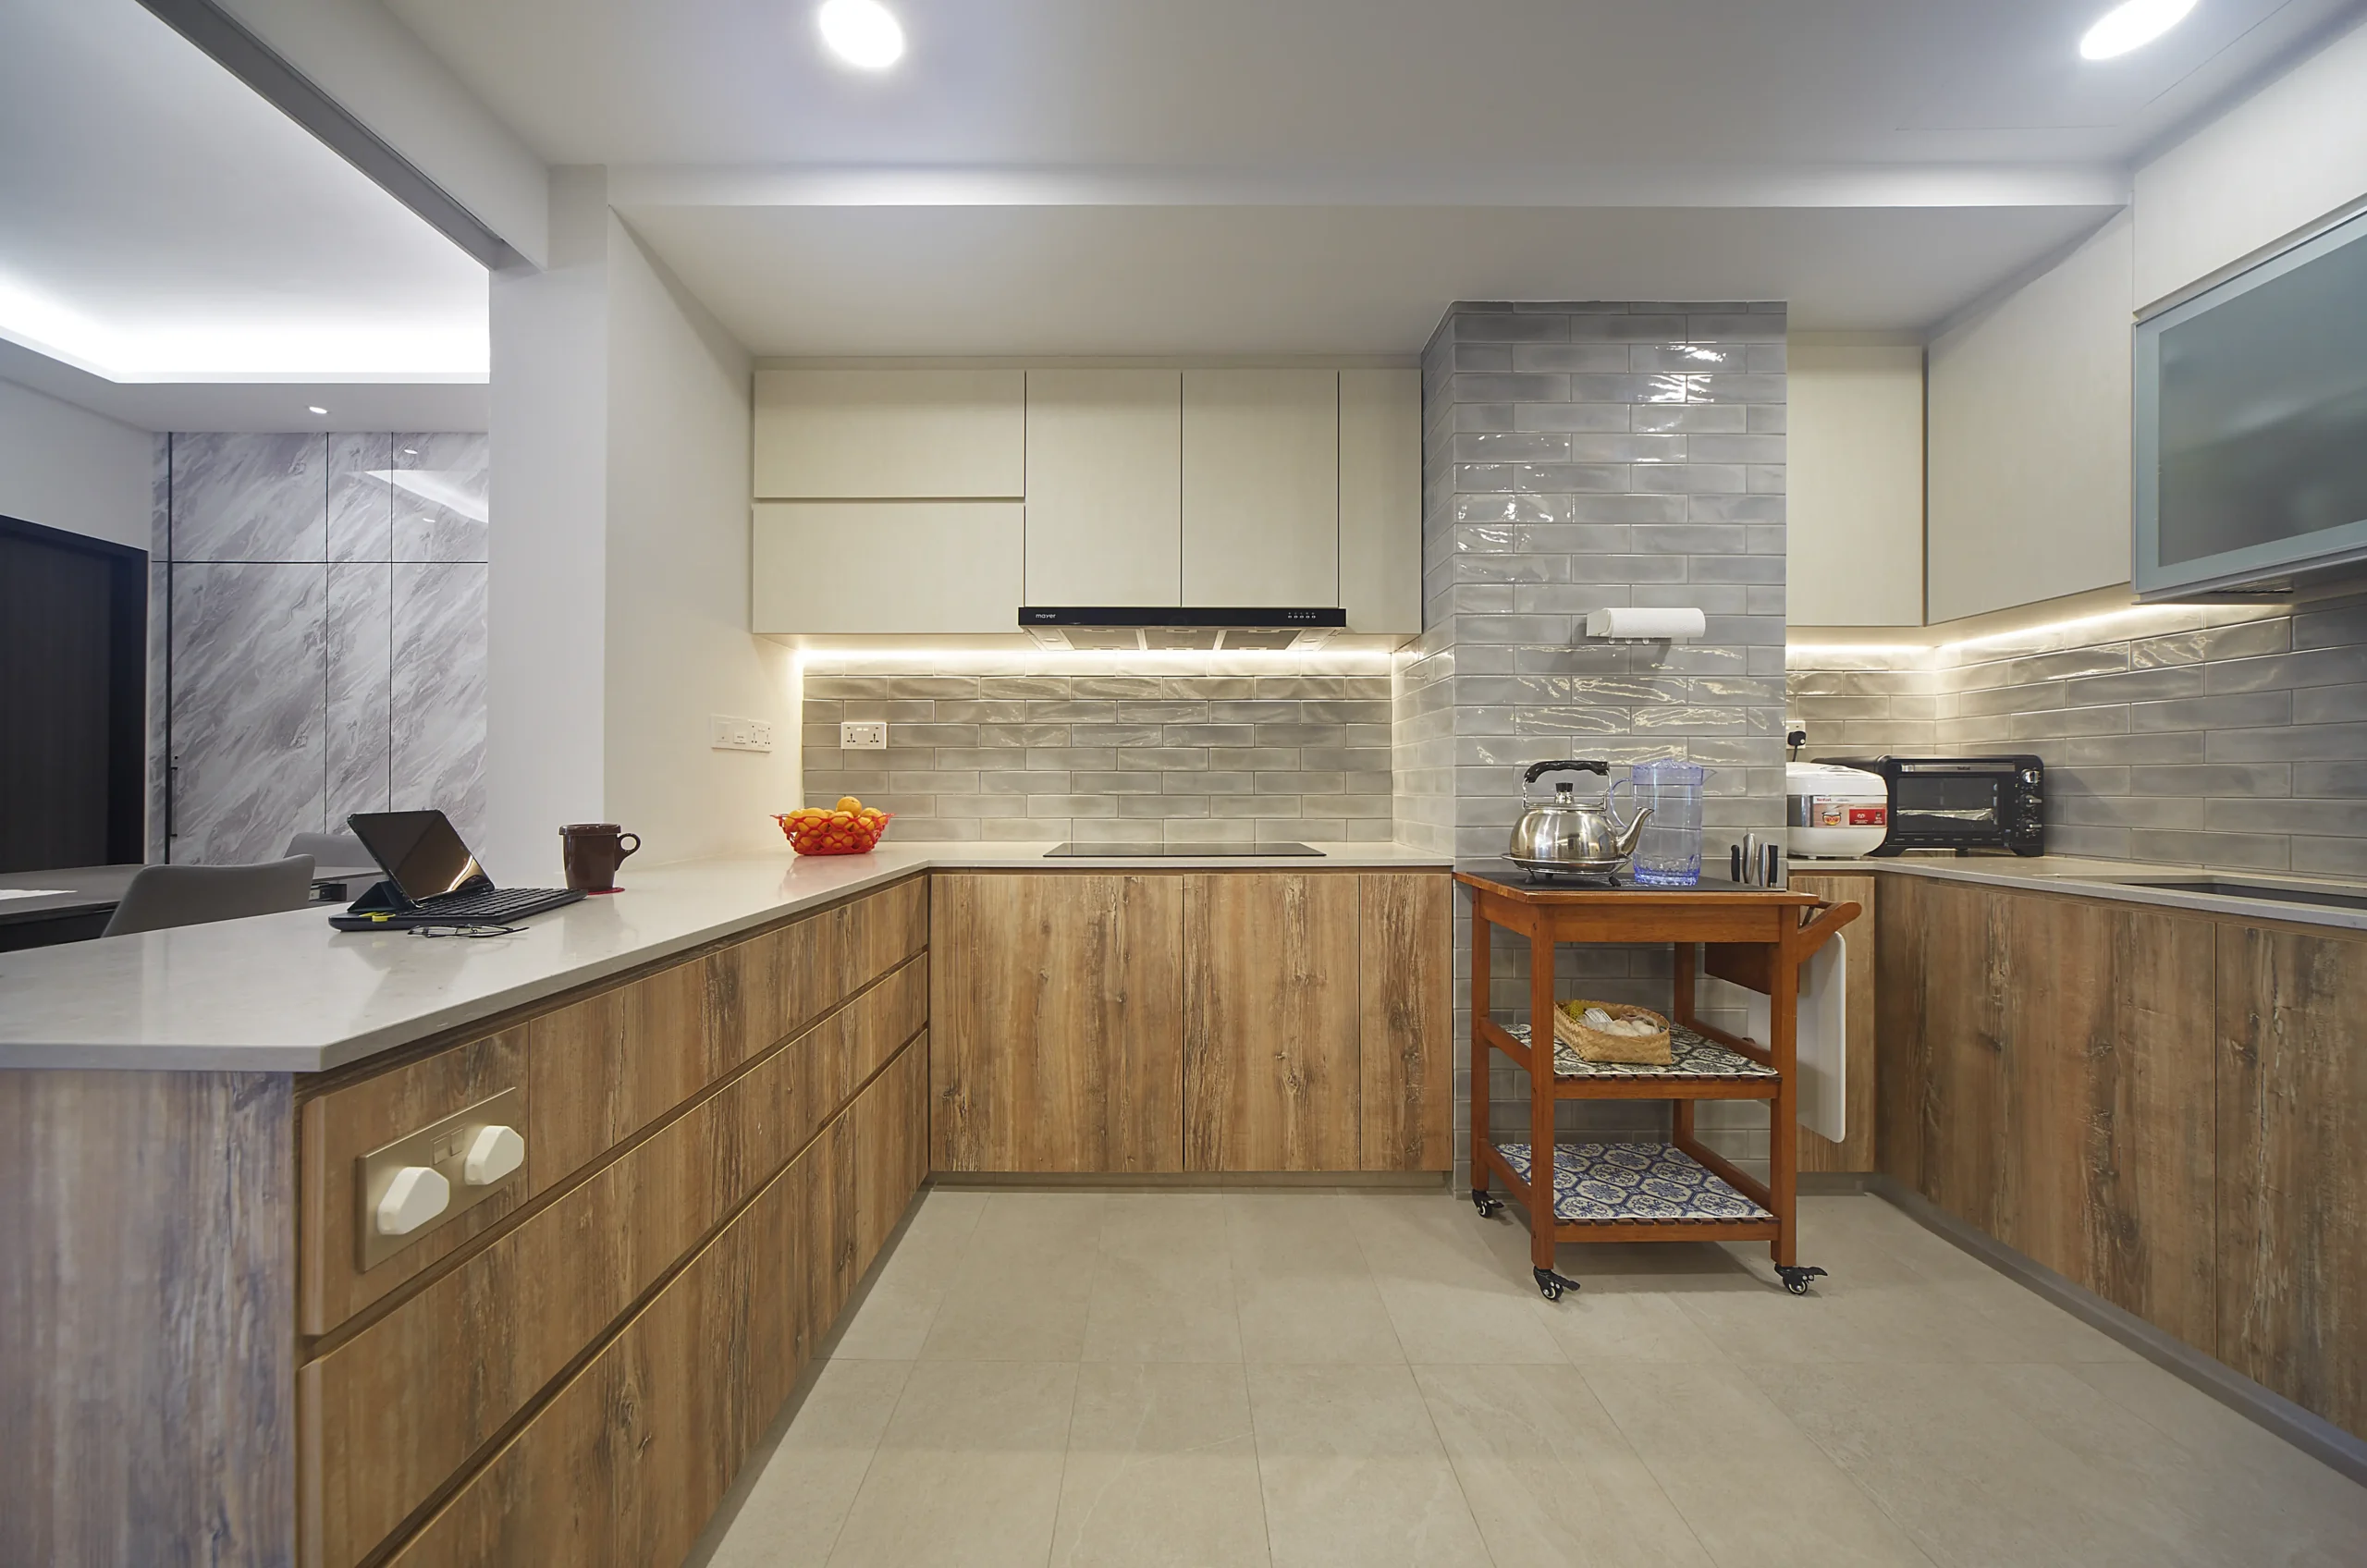
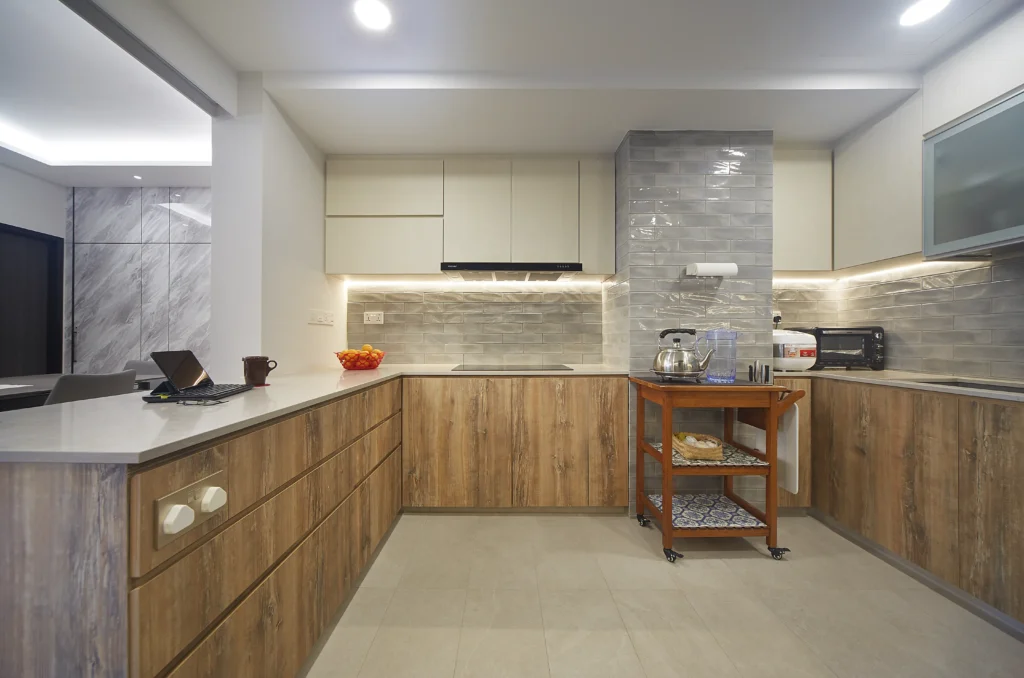
Knowing what to renovate first helps homeowners prioritise essential repairs, organise renovation work, and avoid unnecessary expenses. Whether you are upgrading an HDB flat, condominium, or landed property in Singapore, the right renovation sequence can improve efficiency, protect completed work, and keep your project aligned with your budget.
Generally, homeowners should address safety concerns, hidden defects, and essential infrastructure before moving on to structural work, flooring, carpentry, painting, and decorative finishes. However, the exact order depends on the property’s condition, renovation scope, and any applicable approval requirements.
Planning the correct sequence before construction begins can reduce rework, minimise disruption, and help you achieve a functional and attractive home.
Why Is It Important to Know What to Renovate First?
Understanding what to renovate first helps ensure that important repairs are completed before cosmetic improvements. For example, repainting a wall before repairing a water leak may result in damaged paintwork and additional expenses later.
Renovation tasks are often interconnected. Electrical wiring may need to be installed before walls are closed, while flooring and painting should be coordinated with other construction activities to prevent damage.
A clear renovation plan also helps homeowners allocate their budget more effectively. Instead of spending heavily on decorative features at the beginning, you can prioritise essential improvements and determine which upgrades can be completed later.
For Singapore homes, it is also important to consider property-specific renovation rules, contractor coordination, material availability, and approval requirements before work begins.
What to Renovate First: 8 Essential Steps
1. Inspect the Property and Identify Essential Repairs
The first step is to assess the property’s existing condition. Before deciding on new finishes or furniture, identify issues that could affect safety, functionality, or the long-term condition of your home.
Look for signs of water leakage, damaged flooring, electrical problems, plumbing issues, mould, and deteriorating fixtures. Older properties may require more extensive inspections before renovation work can be planned.
Create a list of repairs and classify each item according to urgency.
Prioritise:
Safety hazards and potentially defective electrical installations.
Water leaks and plumbing problems.
Damaged waterproofing in wet areas.
Deteriorated surfaces or materials that require replacement.
Existing defects that could affect new installations.
Where necessary, consult qualified professionals to assess the condition of the property before approving major work.
Addressing these issues early helps prevent new materials and finishes from being damaged after installation.
2. Plan Your Renovation Budget and Priorities
Once you understand the property’s condition, establish a realistic budget. This helps you decide which renovation tasks must be completed immediately and which improvements can be postponed.
Start by separating essential repairs from lifestyle upgrades. For example, repairing a leaking bathroom may be more urgent than installing a decorative feature wall.
Your budget should account for labour, materials, demolition, carpentry, electrical work, plumbing, fixtures, and other project-specific expenses. You should also set aside a contingency allowance for unexpected repairs or changes.
When planning your budget, review the renovation cost factors in singapore to understand the elements that may influence your overall renovation expenditure.
Request itemised quotations and compare the scope of work, material specifications, exclusions, and payment terms. This makes it easier to determine which improvements offer the greatest practical value.
3. Complete Necessary Structural and Infrastructure Work
After inspections and planning, address approved structural changes and essential infrastructure work. These tasks may include permitted wall alterations, electrical rewiring, plumbing adjustments, and other work required to support the new layout.
This stage should be carefully coordinated because infrastructure is often concealed behind walls, ceilings, or flooring.
For example, electrical wiring and plumbing routes should be confirmed before the relevant surfaces are closed or finished. Discovering a problem after tiling or painting can lead to additional demolition and repair costs.
Before proceeding, confirm that the proposed work is technically feasible and that all applicable permits or approvals have been obtained.
Do not assume that every wall can be removed or every plumbing point can be relocated. Structural and specialised work should be assessed by appropriately qualified professionals.
4. Renovate the Kitchen and Bathrooms
Kitchens and bathrooms often require more coordination than other rooms because they involve plumbing, waterproofing, electrical installations, ventilation, and multiple surface finishes.
If these areas need substantial renovation, plan the work before installing final flooring, cabinetry, and decorative finishes elsewhere.
For bathrooms, assess plumbing conditions and waterproofing requirements before installing new tiles and sanitary fixtures. Any required waterproofing checks should be completed at the appropriate stage.
For kitchens, determine the positions of cabinets, appliances, sinks, electrical points, and preparation surfaces before finalising the installation.
Consider the following priorities:
Repair defective pipes and address water leakage.
Confirm plumbing and electrical layouts.
Complete required waterproofing and checks.
Install appropriate wall and floor finishes.
Coordinate cabinetry, countertops, and fixtures.
Test relevant installations before handover.
The exact sequence will depend on the project design, so your contractor should coordinate the different trades to minimise rework.
5. Address Flooring, Ceiling, and Wall Preparation
Once essential repairs and relevant concealed work are completed, prepare the surfaces for final finishes.
Flooring, ceiling work, and wall preparation must be coordinated carefully. Depending on the project, ceiling framing, concealed services, screeding, tiling, and other preparatory work may need to happen before painting or final carpentry installation.
Choose flooring materials based on durability, maintenance, appearance, and suitability for each room. For example, wet areas require materials and installation methods appropriate for moisture exposure.
Before proceeding with final finishes, check that surfaces are properly prepared and that concealed installations have been inspected where necessary.
This stage is also a good time to confirm transitions between different flooring materials, skirting details, ceiling lighting positions, and wall finishes.
6. Install Built-In Carpentry and Fixed Fixtures
Built-in carpentry is usually installed after the relevant site measurements and surface conditions have been confirmed. This includes kitchen cabinets, wardrobes, storage units, and custom furniture.
Installing these items too early can create problems if the final floor level or wall dimensions differ from the original measurements.
Before production and installation, confirm cabinet dimensions, material finishes, internal storage arrangements, and hardware specifications.
Consider practical details such as door-opening clearance, access to electrical points, and the amount of storage required for everyday belongings.
Custom carpentry can improve space efficiency in Singapore homes, particularly where floor space is limited. However, the design should match the property’s actual dimensions and household needs.
Coordinate the installation schedule with your contractor to protect completed surfaces and allow enough space for workers to carry out their tasks safely.
7. Complete Painting, Lighting, and Decorative Finishes
Painting and decorative finishes generally take place towards the later stages of renovation, after major demolition and other dusty or disruptive activities have been completed.
This helps reduce the risk of damaging newly finished surfaces during subsequent construction work.
At this stage, homeowners can focus on finalising the appearance and atmosphere of each room.
Important considerations include:
Selecting paint colours that complement the flooring and furniture.
Completing appropriate wall preparation before painting.
Installing lighting fixtures according to the approved electrical plan.
Fitting curtains, mirrors, and other decorative elements.
Touching up minor surface defects where required.
Although painting is often scheduled late, certain ceiling preparation or specialist coatings may need to happen earlier. Your contractor should determine the correct sequence based on the materials and work involved.
8. Inspect the Property and Complete Final Touch-Ups
The final stage is to inspect the completed renovation before moving furniture back into the property or treating the project as finished.
Walk through every room and compare the completed work with the agreed drawings, specifications, and quotation.
Check that:
Doors, drawers, and cabinets open and close properly.
Taps, drainage, and relevant plumbing fixtures function correctly.
Electrical points and lighting operate as intended.
Flooring, tiles, paintwork, and carpentry have been checked for visible defects.
Appliances and installed fixtures are properly fitted.
Construction debris has been removed and the property has been cleaned as agreed.
Document defects and discuss the required rectification work with your contractor. Keep records of outstanding items and the agreed arrangements for completion.
A proper handover helps ensure that the renovation is not only visually appealing but also functional and ready for everyday use.
What Is the Correct Order for Home Renovation?
The correct renovation order depends on the work involved, but a typical full-home project follows a sequence that moves from planning and disruptive work towards installation and finishing.
Renovation stage
Main activities
Why it matters
1. Inspection and planning
Assess defects, define scope, confirm budget
Identifies essential work before spending begins
2. Approvals and preparation
Confirm requirements, drawings, and site arrangements
Helps prevent unauthorised work and avoidable delays
3. Demolition and major works
Remove approved items and carry out necessary alterations
Prepares the property for new installations
4. Plumbing and electrical
Install or modify required services
Ensures concealed work is completed before surfaces are closed
5. Surface and wet-area works
Waterproofing, tiling, ceiling and wall preparation
Establishes the foundation for final finishes
6. Carpentry and fixed installations
Install cabinets, wardrobes, and fixtures
Fits custom elements to the prepared space
7. Finishing works
Painting, lighting, and decorative details
Completes the interior appearance
8. Inspection and handover
Test installations, rectify defects, clean the property
Confirms readiness for use
This sequence is a general guide rather than a fixed schedule. Some tasks may overlap, and certain projects require a different order based on site conditions and technical requirements.
The most important principle is to complete disruptive work and concealed installations before finishing the surfaces that could be damaged by later activities.
Common Mistakes to Avoid When Deciding What to Renovate First
Even a well-intentioned renovation can become more expensive if tasks are scheduled in the wrong order. Avoid these common mistakes to improve coordination and reduce unnecessary work.
Starting with decorative upgrades. Installing premium finishes before addressing leaks, wiring issues, or damaged surfaces may lead to costly repairs later.
Ignoring concealed problems. Existing plumbing, electrical, or waterproofing issues should be assessed before covering them with new materials.
Installing flooring too early. Heavy construction activities can scratch or damage completed floors if the work sequence and protection measures are not properly planned.
Finalising carpentry measurements too soon. Custom cabinets should be coordinated with the actual site dimensions and relevant finished surfaces.
Making frequent layout changes. Late changes can affect material orders, trade schedules, and the overall budget.
Overlooking approvals. Certain renovation activities require permission or compliance with property-specific requirements before work begins.
By discussing the complete work sequence with your designer or contractor, you can identify dependencies and avoid preventable conflicts between trades.
Pro Tips for a More Efficient Renovation
Prioritise safety and essential repairs. Address problems that could affect the property’s condition before spending on cosmetic improvements.
Coordinate trades carefully. Electrical, plumbing, masonry, tiling, carpentry, and painting need to be scheduled in a logical order.
Confirm material availability early. Delays in tiles, flooring, fixtures, or custom cabinetry can affect subsequent work.
Keep decisions documented. Written specifications and approved changes reduce misunderstandings during construction.
Protect completed surfaces. Use appropriate protection when other work must continue around newly installed flooring, cabinets, or finishes.
Allow time for final inspection. Do not schedule your move-in so tightly that there is no room to address outstanding defects or cleaning.
Conclusion
Knowing what to renovate first is essential for creating a functional home while managing costs and reducing unnecessary delays. Start by inspecting the property, identifying essential repairs, and establishing a realistic budget. Then coordinate structural and infrastructure work, wet areas, flooring, carpentry, painting, and final installations according to the requirements of your project.
For homeowners in Singapore, careful planning should also account for property-specific rules, necessary approvals, and the coordination of different contractors. A clear renovation sequence helps protect completed work and ensures that each stage supports the next.
Whether you are refreshing a single room or renovating an entire property, prioritising the right tasks from the beginning can help you achieve a smoother and more organised renovation experience.
FAQs (Frequently Asked Questions)
What should I renovate first in my home?
Start with property inspections, safety concerns, essential repairs, and any underlying defects before moving on to cosmetic upgrades.
Should I renovate the kitchen or bathroom first?
Prioritise the area with the most urgent repairs or functional needs, while coordinating plumbing, waterproofing, and other work across the project.
Should flooring be installed before painting?
The sequence depends on the flooring type and work involved. Coordinate both stages carefully and protect completed surfaces from damage.
When should I install built-in cabinets?
Built-in cabinets are generally installed after relevant site measurements and surface preparation have been confirmed.
How can I avoid renovation delays?
Finalise the scope early, confirm material availability, obtain necessary approvals, and coordinate contractors according to a clear work schedule.